
Here are the supplies you'll need:
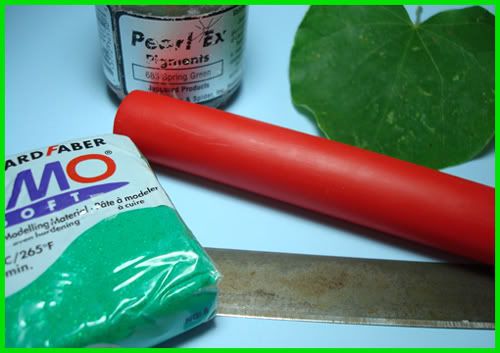
Materials
Clockwise from left
-1 package of green polymer clay
-Pearl Ex pigment or other shimmery powder (try eyeshadow if you don't have any Pearl-Ex!)
-A leaf
-Small rolling pin
-Blade
STEP 1: Prepare a clean workspace. If you have wax paper or parchment paper, tear off a sheet and tape it down. If not, wipe down your surface until it is free of any dust or other particles.

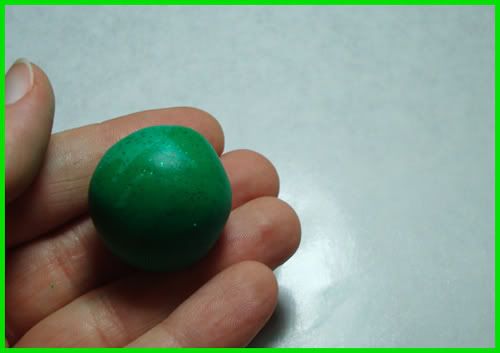
STEP 2: Take a good sized chunk of green clay. Work it in your hands until it is soft, then roll it into a ball.
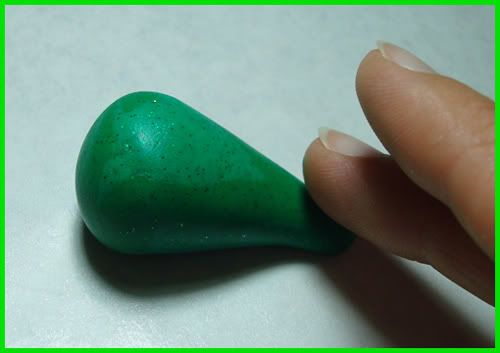
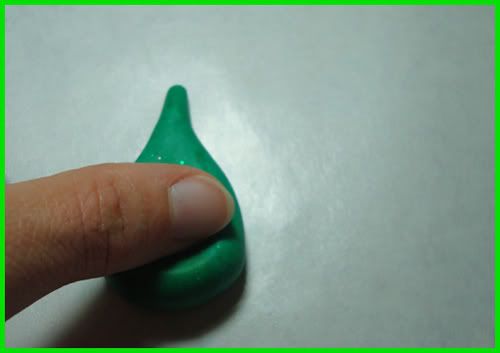
STEP 3: Roll one side of the ball at an angle to create a teardrop shape.
STEP 4: Press the teardrop flat with your thumb.
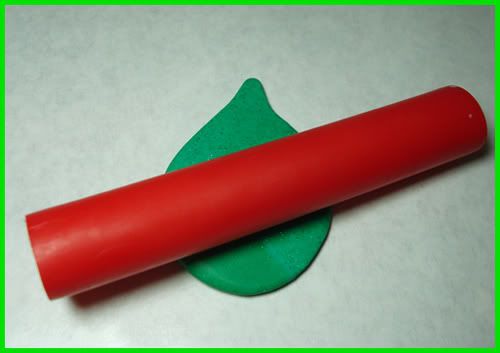
STEP 5: Use a rolling pin to further flatten the shape.
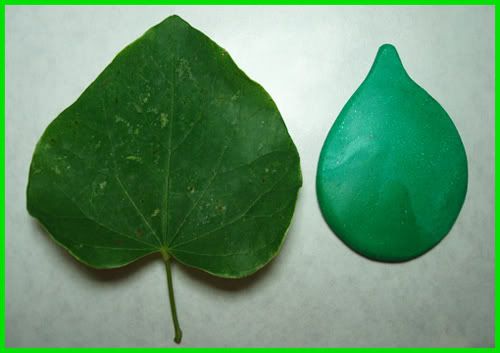
STEP 6: Place the clay and the leaf side-by-side and plan the placement of the leaf pattern.
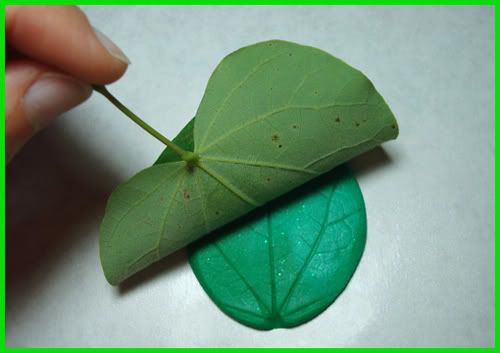
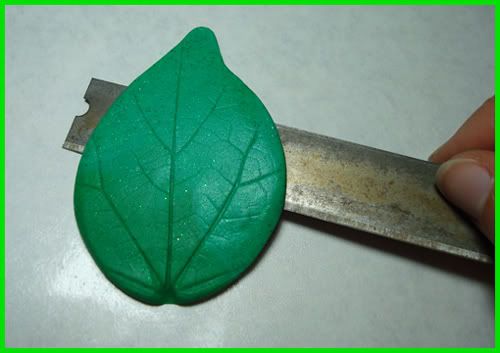
STEP 7: Press the leaf down onto the clay. Use the rolling pin to ensure the leaf pattern is fully imprinted onto the clay. *Note- this would be a good time to start preheating your oven. Check the packaging of your clay to determine temperature.

STEP 8: Slowly peel the leaf from the surface of the clay.
STEP 9: Use a flat blade to remove the leaf from your workspace.
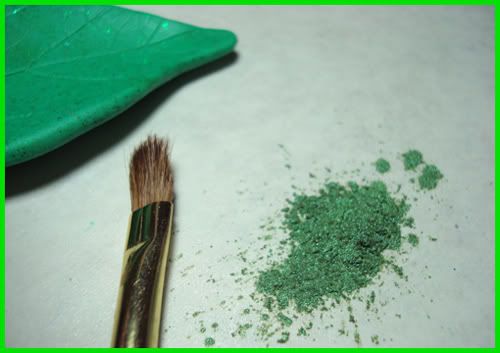
STEP 10: Sprinkle a small amount of shimmer dust onto your workspace. This step is optional, but the pigment does help bring out the details of the leaf.
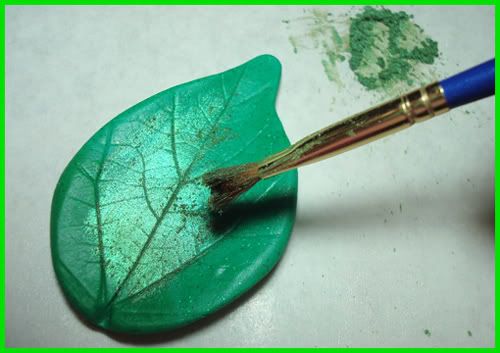
STEP 11: If you have a paintbrush, use it to lightly brush the powder onto the surface of the leaf. You can also use your finger, but be gentle so you don't wipe away the pattern.
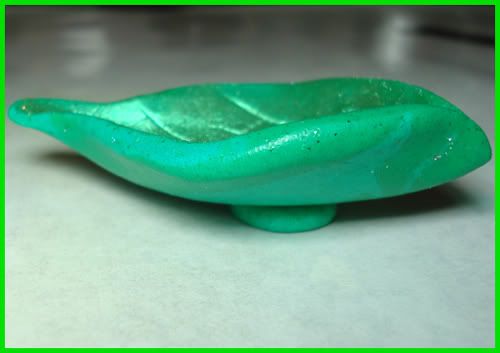
STEP 12: Sculpt the edges of the leaf so that you create a bowl. Slightly pinch both ends to emphasize the leaf shape.

STEP 13: With a new piece of clay, make a small ball and press it flat.
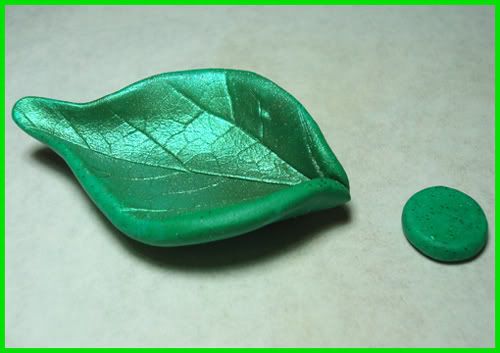
STEP 14: Press the medallion shape onto the bottom of the leaf as firmly as you can without distorting the leaf. This will serve as a base for your dish.
STEP 15: Almost done! Place your leaf in an oven-safe pan or baking sheet. Bake according to the directions on the package of clay you used.

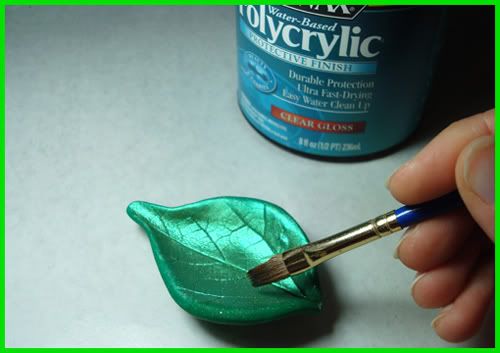
STEP 16: Allow your leaf to cool for at least 15 minutes once it's done baking, and then it's time to varnish. This step is optional, but a coat of varnish seals the pigment and adds shine and durability to the finished piece. I use water-based Minwax Polycrylic, but you can also use clear nail polish if you don't have any varnish.
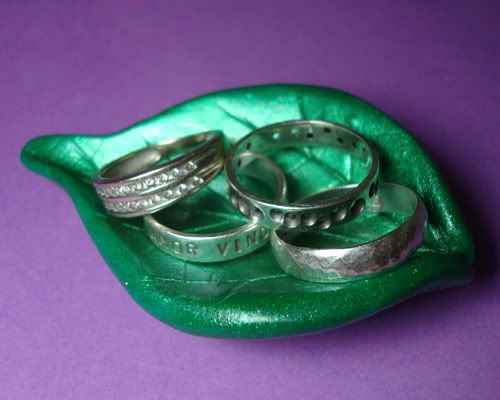
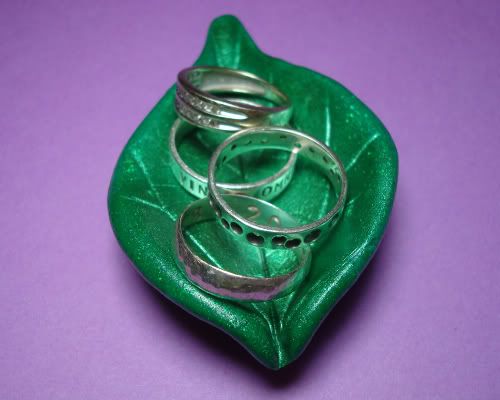
STEP 17: Allow the varnish to dry overnight. Once it's dry, you can begin to use your lovely new nature-inspired ring dish!
This project is linked up with lots of other fun tutorials here!
26 comments:
WOOOW that looks so awesome :) I may just try this out for myself what with all my rings lying around my room :P
Oh this is such an awesome tutorial! Thanks very much!!!!
Love this tutorial :) Very cute idea! Thanks for sharing it with us! This might be the excuse I was looking for to get me an alligator rolling pin from target :) Have you seen those? They are awesome!
I LOVE THIS.
I want you to decorate my room with all your adorable, beautiful things.
Did you know I used to LOVE playing with that molding clay? I used to make tiny food. Really. Sometimes for whole weekends as a kid...Barbie Doll food I called it.
Random.
In other news: I'd love to run away with you and save the world.
So pretty! This tutorial is so good it makes me feel like I actually might be able to do something with clay! I dabbled in it awhile ago and failed miserably ;)
Great tutorial! I need to make one for my rings!
Hi Holly
That little dish looks great!
I love the idea of pressing the real leaf into it to give it the appearance of a real leaf.
Rose
Pretty!
You can use leaves on pie crust dough too.
Have a wonderful week!
<><
http://christiecottage.blogpsot.ocm
How pretty. You're such a crafty diva!
AAAHHH this is so neat! I want to try this with my step-daughter, she will fuh-reak out.
what a lovely little dish! thanks for the craft idea ; )
awww! this is so cute and perfect! I swear, you are so creative. You always come up with the cleverest stuff :)
Hey sweet pea! I LOVE this little leaf project, so cute! And it was fun to see you get those pigments out too, yay! ♥
I mistakenly deleted my blog last week {long story} but I was able to create a new blog, and forward it to my original domain... please stop by and re-follow me again, when you have the time... just trying to make sure everyone can find me and that all subscriber links are updated.
Love ya Miss! ;)
♥
so pretty! i have some white leftover from our holiday ornament making - this would make a fun craft with my son! thanks :)
I'll definitely try making this in the holidays! It looks so lovely!
I love the shimmer! This would be great on my nightstand :)
wow!! thats soo fantastic..
Thank you very much for the walk through.
omg, that's adorable!
That's amazing!!
Thanks so much for sharing.
Can't imagine what my hubby would say though if I came home with supplies for another craft!
Well - actually - I can well imagine what he would say :)
Completely in love with this tutorial!
I so want to try this one out! Whenever I do, I'll surely blog about it! Thanks for sharing, Holly!
Super cute and the perfect indoor craft while we sweat out this hot summer heat! You are so talented with the polymer clay! <3
I love this! Your tutorials are always so detailed and clear. You rock, Hollyrocks!
PS Yes, I am thinking of selling some prints soon. Hoping to have them in time for Indie Emporium.Thanks so much for your kind words!
xoxo
Holly
pretty amazing- I'm in love with the result!
Magda
wow... very neat
definitely, this will be on my to do list once I completed my clay tools.
eytozee.net
Love the Ring - not so much the color, but you are right: leafs should be green :)
Post a Comment