
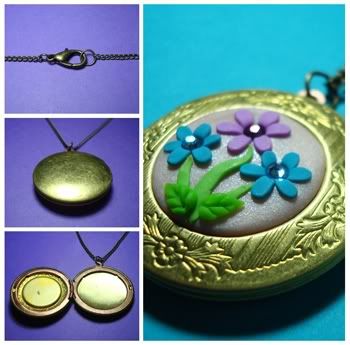
Daisy Bouquet Locket Necklace

Summer of Love Guitar Pick Earrings
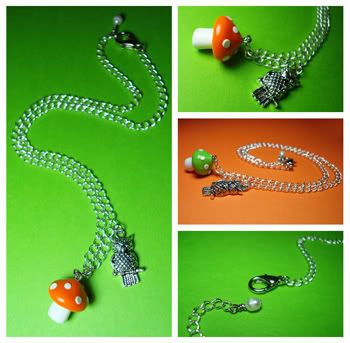
Retro Owl and Mushroom Charm Necklace

Book Lover Locket Necklace
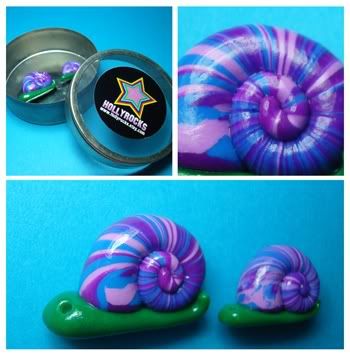
Mama and Baby Snail Magnets

Mushroom Garden- Maintenance Free Mini Terrarium
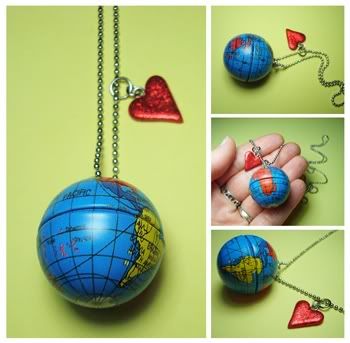
Global Love Necklace- Proceeds Donated to American Red Cross
Creating a collage is actually a pretty simple process using photo editing software such as Adobe Photoshop. And for those of you who have no interest in product photography, I'll show you how you can use these collages for personal photos too!
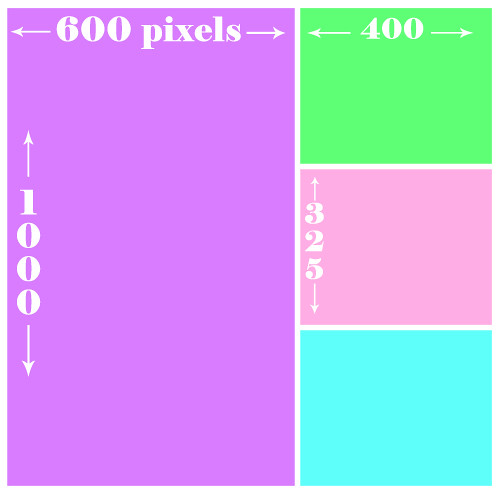
Here's a little template I've put together to demonstrate a layout I often use for my collages. All image sizes are measured in pixels. The largest photo is 600 pixels wide by 1,000 pixels tall. The smaller photos along the side are all 400x325.
The first step is to open Photoshop and create a new image. Click "file" and then "new".

When you click "new", a box will pop up that looks like this. Create your blank image so that it measures 1150x1150 pixels with a resolution of 200 dpi.

Now you will need to open 4 photos which you plan to use for your collage. Keep the template in mind when choosing your photos to make sure they will work well with this layout.

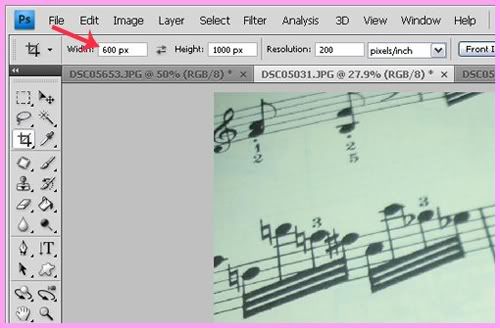
Once you have your blank image and all 4 photos opened, it's time to start cropping! Select the crop tool and set the width to 600 px and the height to 1000 px. Make sure to include the "px" after the numbers or Photoshop will assume you mean inches, which is WAY too big. You'll also want to set the crop resolution to 200 dpi.
Now that you've determined what size you'd like to crop the image, apply the tool to an area of the photo you'd like to use in your collage. You may want the entire item to show, or you may want to create a closeup affect. Just go with what looks right to you and hit enter to crop the photo.

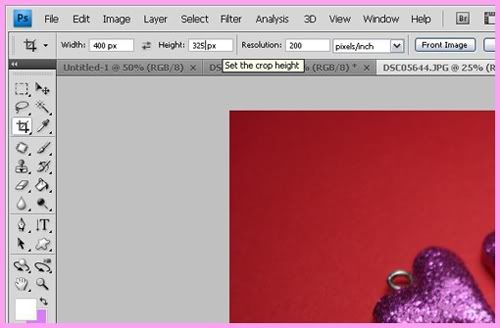
Adjust your crop dimensions to 400 px by 325 px for the smaller images.
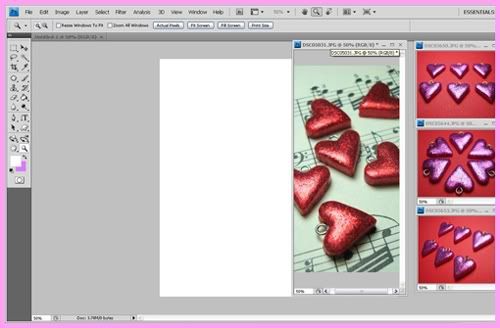
Crop all three of the smaller images. Now that you're done cropping, your workspace should look something like this.
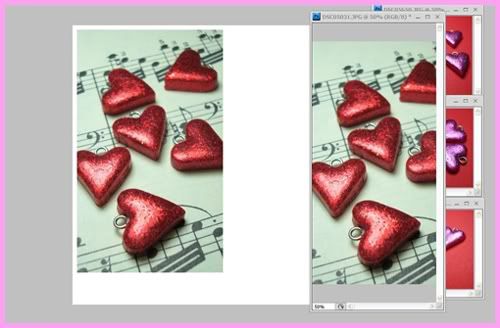
To drag the photos to the blank image, select the move tool.

Click and drag the largest photo onto the blank image. Drag it to one side of the blank image, leaving only a small border of white at the top and side. Don't worry about the larger border at the bottom, we'll trim that off when we're finished.
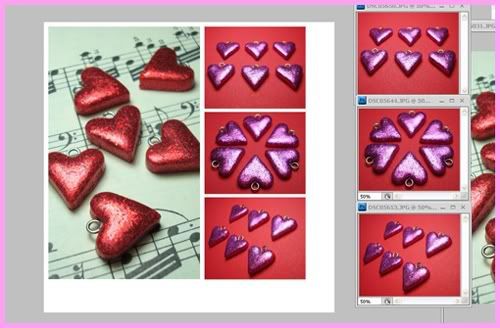
Now use the move tool to drag the smaller photos onto the blank image.

Move them into place one by one, leaving a thin white border between them.
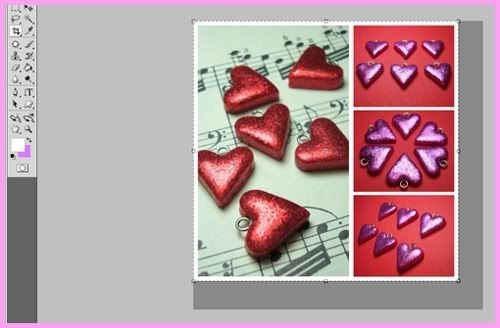
Almost finished! Now you will want to crop the excess white border from the edges of your collage. Before you start cropping, clear the numbers in the boxes on the toolbar since you're no longer trying to crop the image to a specific size.

Crop your collage so that the thin white border around the edges is about the same size as the border between the photos.
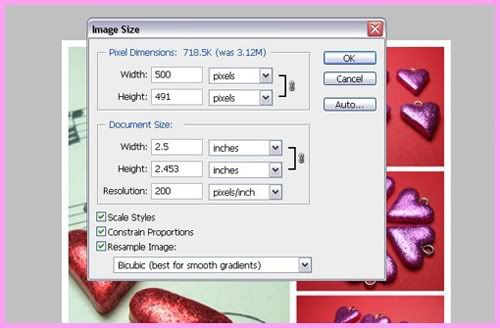
All that's left to do now is resize your collage. Click the "image" tab and then click "image size".
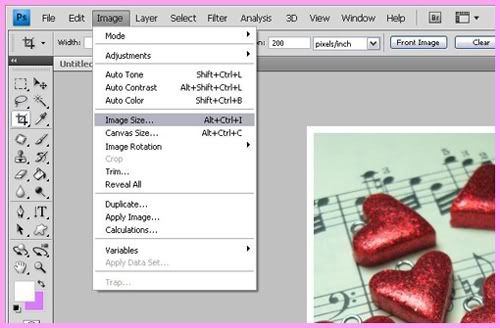
This little box will pop up on your screen. If you'll be using your collage for your Etsy shop, you'll want to size it at 1000 pixels wide. If your collage will be used on your blog or your facebook page, you might want to go with a smaller size. I made mine 500 pixels wide. It won't be a perfect square, but it will be close.
Viola!
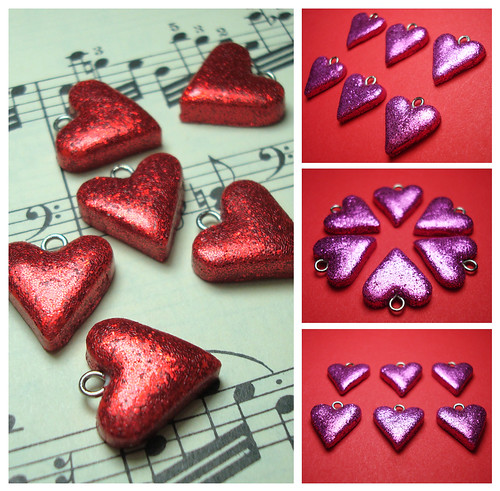
Sweetheart Charms
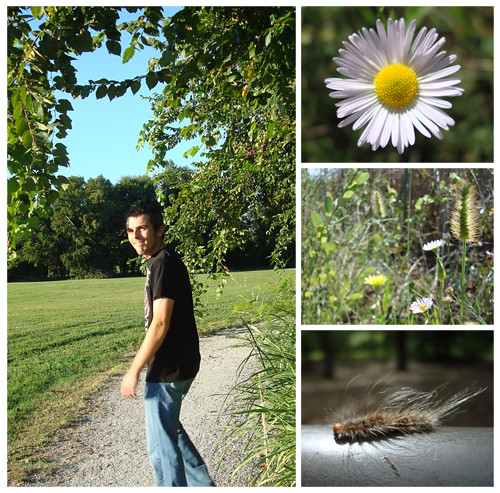
These collages are also great for compiling personal photos in a memorable way. So if you had a wonderful day at the park with someone special and you'd like to remember it forever, pick out some of your favorite photos from your trip and make a collage!
Working in Photoshop caused me quite a bit of frustration when I first started selling online. Now I've come to a point where I actually enjoy editing my photos, and I hope you'll find it enjoyable too. If you have any questions, feel free to leave a comment and I'll be happy to help.
This project is linked up with lots of other fun tutorials here!
13 comments:
wow, this is great holly! You've got this down to a science! your photos are so lovely and vibrant-- just like you!~
Such a great idea! It never occurred to me to do this with my Etsy photos. Your product photos are always so beautiful! Thank you for sharing.
Girl, you are too sweet! Thanks for the comment on my hairdo!! <3 I totally love it short, but some days it just drives me crazy, because my curls are coming back and they just want to go every which way! I end up straightening it, which kind of defeats the purpose of cutting it to begin with, right? lol
Thanks so much! I'm definitely gonna keep it short thru summer, I think. :D
This is AWESOME! Great post!!
Totally saving this for when I finally buy Photoshop!
I don't have photo shop, but I've been trying to teach myself how to use a Paint.Net program which is similar {and a free download}... It's fun to make collages, I bet I can learn a few tricks from this, thank you! ♥
This is nice, i have seen a few people using the collages.
I'm so happy you shared that! It looks awesome!!
You have such great photos! And thanks for the tutorial. I've always wanted to learn how to make photo collages, but ended up giving up halfway through. I think I'll be able to manage this though :)
Great tutorial. Your creations are so colorful and pretty!
I'm so saving this - thank you!
Thanks for this wonderful tutorial! I'll bookmark this for future use.
This is GREAT info. You're the best. :)
Post a Comment