
If you've ever had your heart broken by life's ups and downs, you know how important it is to find ways to heal yourself. This world is full of tragedy and hope, sadness and sunshine. Since Valentine's Day is this week and many people find themselves reflecting on the nature of love and relationships, I've noticed this holiday invokes many passions. Some feel complete rage when faced with the capitalistic rush to buy gifts, while others anticipate a romantic evening spent with a new love or perhaps plot that first move toward someone they have feelings for. It can go both ways, but like many other issues, I like to keep a sweet little spot for myself somewhere in the middle. Here's what I mean...
To celebrate Valentine's Day each year, I simply remind myself to be extra thankful for every single arrow I've ever been shot with, romantic or not. I was struck violently by cupid's arrow when I first became an aunt and have been smitten with this role ever since. I have "fallen for" new friends, people who have entered my life over the past few years and made it better than it was before. Rather than completely rejecting this holiday when the concept of love is paraded in my face for a month straight leading up to Valentine's Day, I like to reassert my mission to fall in love with the world around me over and over again.
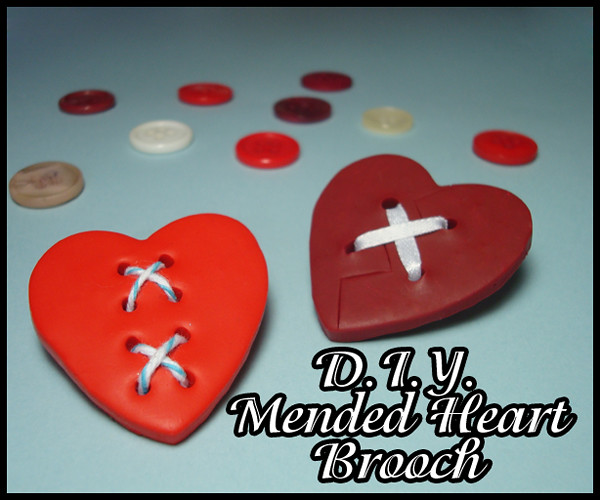
This project is intended to celebrate those with big hearts, as well as the courage of the human spirit and our ability to patch up our wounds and keep on loving. So grab these supplies and let's cure it with crafts!
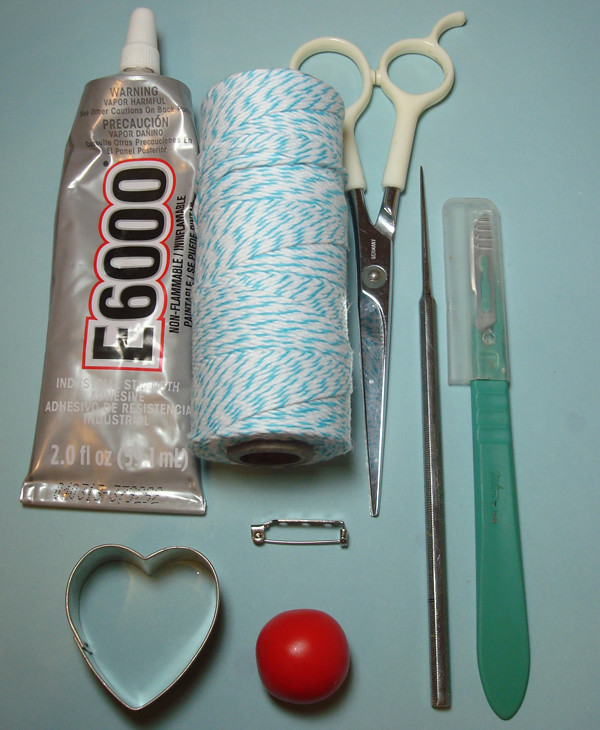
You Will Need:
♥ E6000 glue
♥ Twine, ribbon, or thread
♥ Scissors
♥ A needle, toothpick, or sharp object for piercing clay
♥ A knife or blade (optional, used for adding "broken" heart details)
♥ A pinback
♥ Polymer clay in your choice of brand and color (I used Premo in red)
♥ A miniature heart cookie cutter (can be purchased in the baking section of craft supply stores for under a dollar, or you can sculpt a heart from the clay by hand if you don't want to use a cutter).
Instructions:
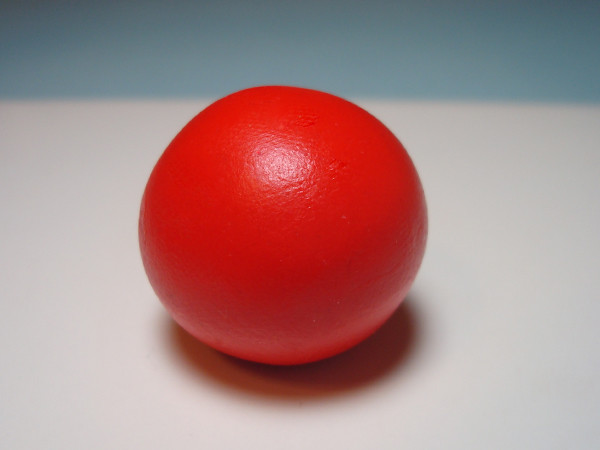
Step 1: Prepare a clean work surface. I like to use a tile or a sheet of wax paper taped to my craft desk. Roll a large chunk of clay into a ball (1/4 of the package should be plenty).
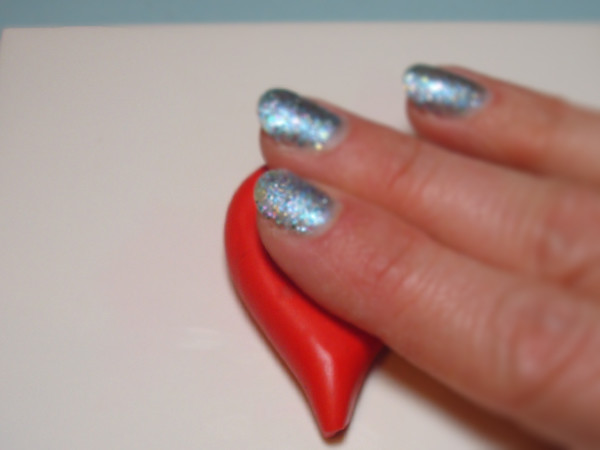
Step 2: Roll the clay on one side with your hand slanted to create a teardrop shape.
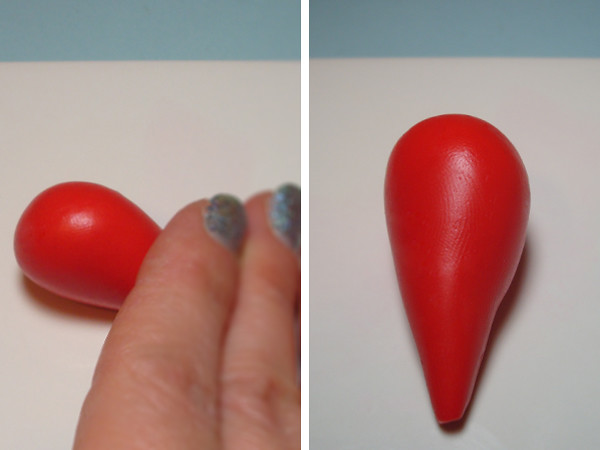
Step 3: Press the teardrop flat with your fingertips.
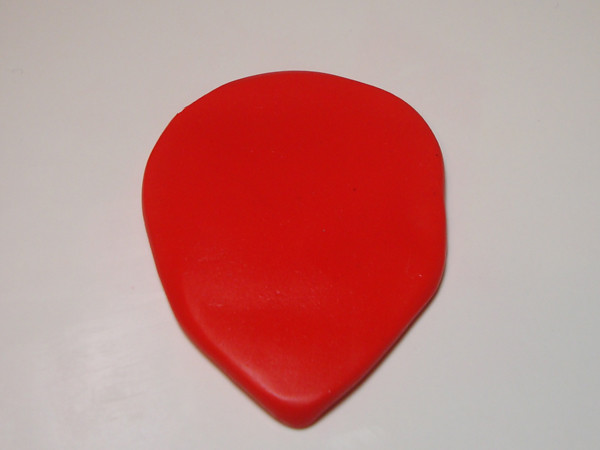
Step 4: Continue pressing the clay until the teardrop is flat and spread out enough to accommodate your cookie cutter. You can use a rolling pin or round object to do this or your fingertips. If you use your fingers, gently wipe at the surface of the clay when you're finished to remove fingerprints.
Step 5: Press the cookie cutter onto the clay and cut a heart shape.
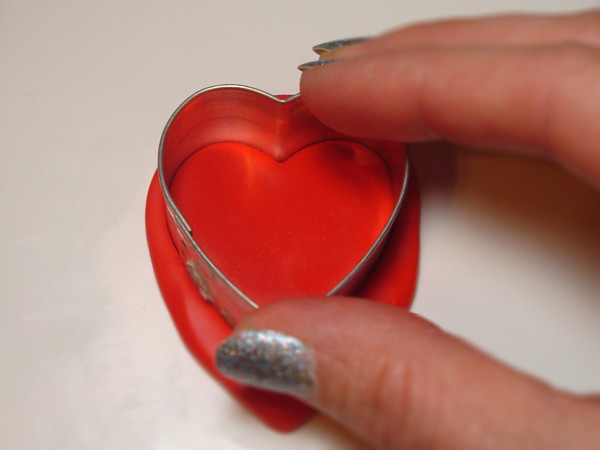
Step 6: Remove the cookie cutter and the excess clay around the edges of the heart.
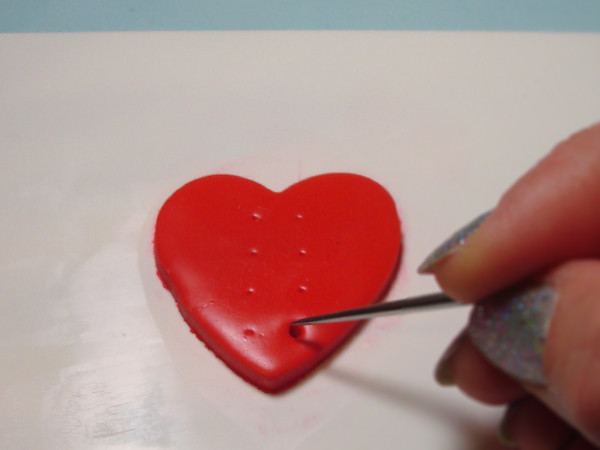
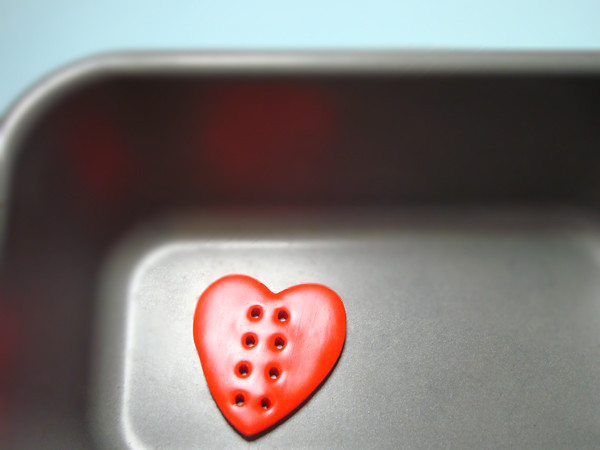
Step 7: Use a pointed tool to plan and penetrate holes in the heart shape. Make sure the holes are large enough to allow your string to easily pass through.
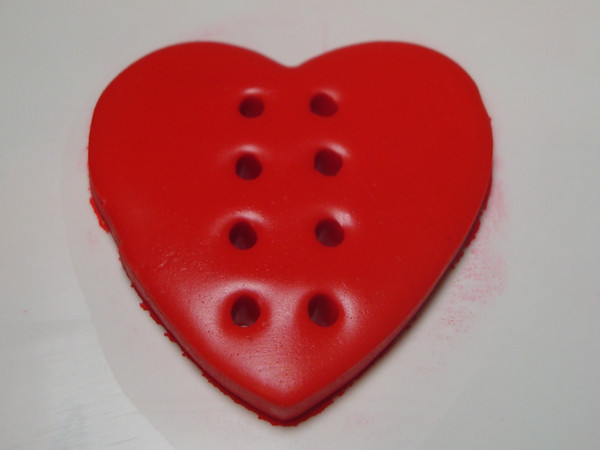
Step 8: Continue until you've made all the punctures you need in your heart. I made two hearts, and placed 8 holes on one and 4 on the other. Feel free to get creative with the placement! Just try to keep in mind that you'll be lacing your string through it later on and try to plan a pattern you like.
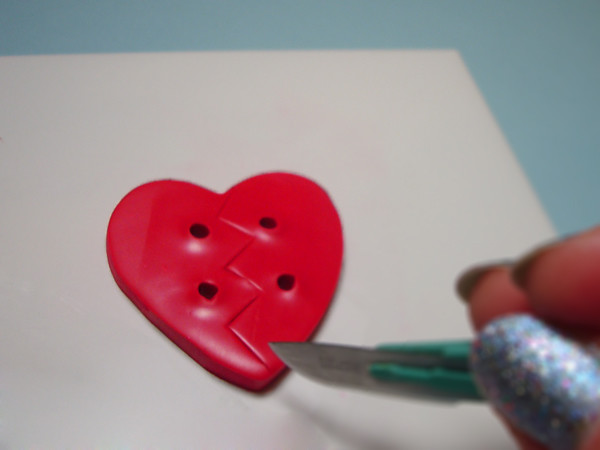
Step 9: If you'd like to create further details, use a knife to leave a "hearbreak" impression in the center of your shape.
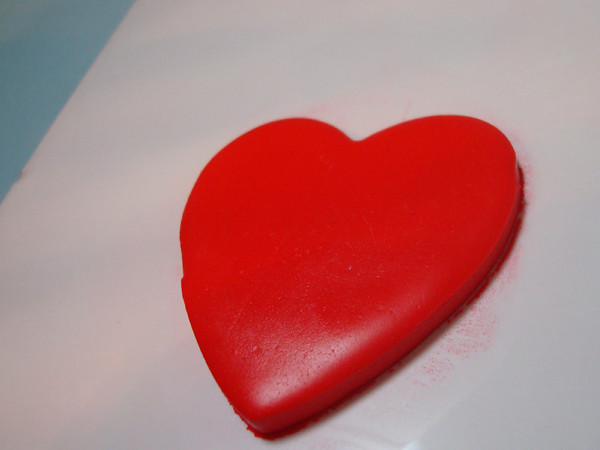
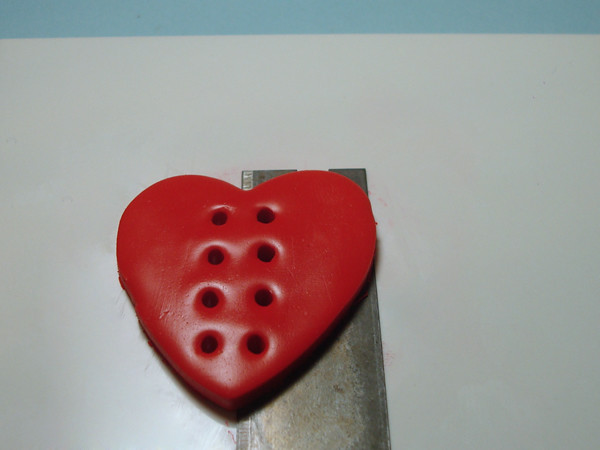
Step 10: Carefully remove the heart from your work surface. You may wish to use a knife or blade to lift it without distorting the shape.
Step 11: Bake according to the directions on the package of clay you used. Allow to cool completely.
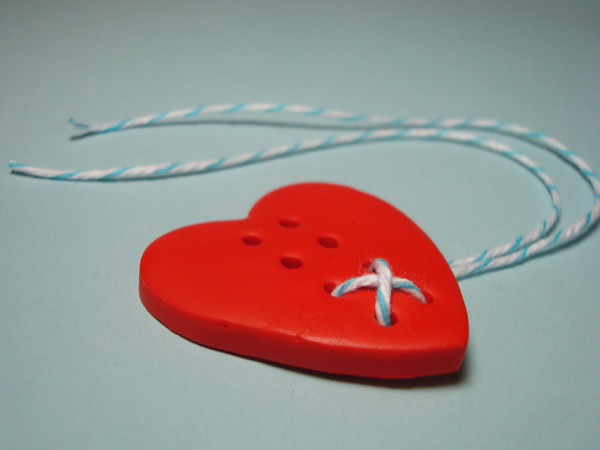
Step 12: Cut a length of string and begin threading it through the spaces on the cured heart.
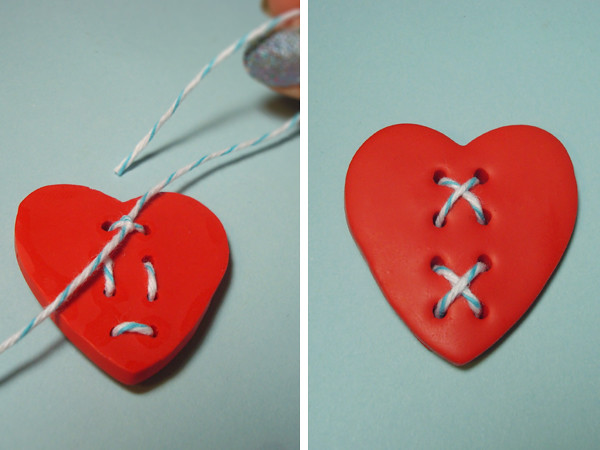
Step 13: Once you've threaded the string to create a pattern you like, tie a double knot on the back of the heart and trim the ends.
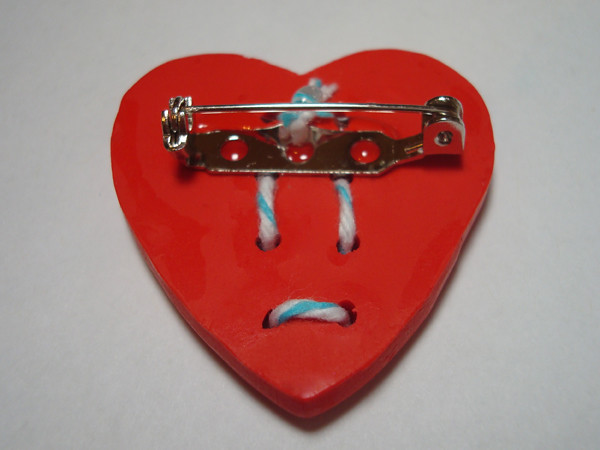
Step 14: Glue the pin to the back of the heart with E6000. Add a drop of glue to the knot as well to keep it secure. Allow the glue to dry for 12-24 hours.
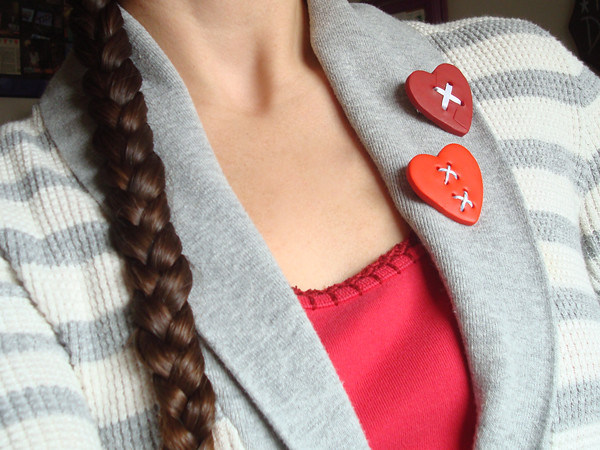
Step 15: Use your new mended heart brooch to adorn your sweater, purse, or backpack.
I like to stretch my tutorials out to show detailed photos of each step, but here's a little collage that puts it all together for a start-to-finish view of this project. Click the photo to zoom.

I hope you have a magical week filled with as much love as your precious heart can possibly hold!
4 comments:
Love this, although if you didn't know "mended heart" is also a term used for anyone who has had heart surgery.
Love the hearts!
Cupid's arrow has been pretty accurate in your life, and its aim reflects in your words, and all that you create.
Happy Valentine's Day to you, Holly!
You have the most creative mind for creating cute stuff! :)
Oh very cute DIY!
xx
www.sakuranko.com
Post a Comment